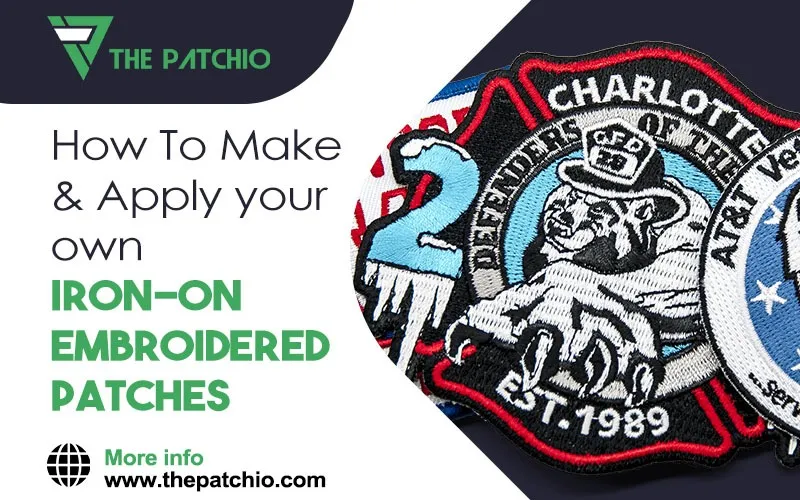
Custom embroidered patches are trending immensely among the U.S fashion culture. The reason being their environmentally friendly and sustainable characteristics, durability, versatility, eye-catching designs and cost-effectiveness.
Although embroidered patches come in 3 different backing options the more popular one is Iron-on patches. The reason behind its popularity is the fact that they are easy to make at home. In this blog I will tell you how to make DIY Iron-on patches as well as how to apply them so make sure you read this till the end.
How to Make Iron-on Patches?
There are three simple techniques to make iron-on custom embroidered patches at home which involves using the following:
- Inkjet Printer
- Hand Embroidery Method
- Sewing Machine Method
But before we delve deeper into these techniques you must gather the necessary tools.
Tools Required to make Iron On Patches
- An Iron
- Iron on adhesive
- Peel-and-stick fabric fuse
- Scissors
- Stiff fabric
- Inkjet printer
- Transfer sheets
- Sewing machine
- Phone camera or another digital camera
- Photo editing software
- Fabric pencil
- Embroidery floss
- Embroidery needle
- Embroidery hoop
1- How to Make Iron on Patches Using Inkjet Printer?
Having a printer is the key to this method's simplicity. All you need are peel, transfer sheets, and stick fabric fuse. Once you have these tools, select a piece of art or design one yourself. Then, using your phone's high-resolution camera, capture the image and transfer it to your PC. To maintain the image's quality, email it. Resize the picture to match your patch's size with the aid of photo editing software.
Load the inkjet transfer paper into the printer. Produce the image, leave it until it's dried, and then remove it from the printer tray. After the printout is wholly dried, gather your scissors, thick fabric, and iron.
Place the fabric on the ironing board and position the image printout flat on its face on the thick fabric.
Follow the package's instructions for time and heat. Once the image is transferred, peel it off and let it dry. And there you have it, an amazing patch ready to be added to your favorite item, a result you've eagerly anticipated.

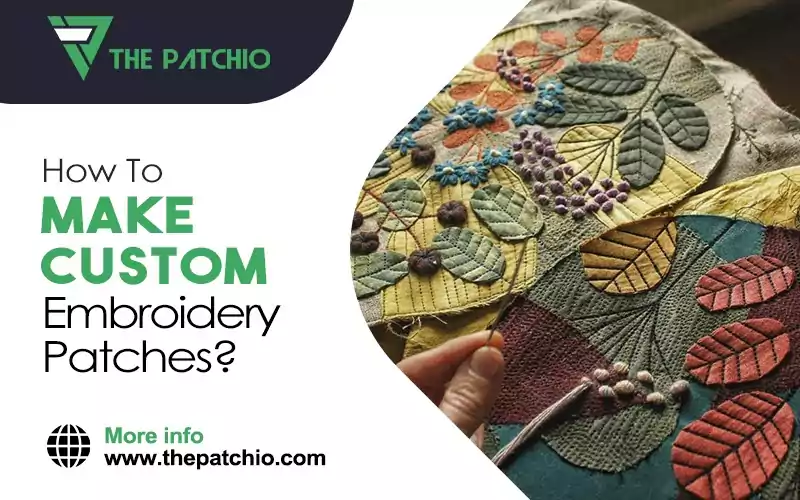
2- How to Make Iron-on Patches Using the Hand Embroidery Method?
If you have a passion for art and a willingness to learn, this method is for you. You don't need to be a professional artist, just a bit of handwork and a desire to create. Before you start, immerse yourself in the learning process by watching a few YouTube videos about hand embroidery.
Before you start, ensure you have the right tools. Watching these videos will help you determine whether you can embroider. To use this method, you will need an embroidery hoop and embroidery floss.
Follow these steps:- Carve out the art piece you want to transform into a patch.
- Stick its left side to the back of the heavy fabric with tape.
- Turn the embroidery hoop into a lightbox or window and outline your design with a pencil. An embroidery hoop is a circular tool used to hold the fabric taut while embroidering.
- After tracing the design, pick the colors of embroidery yarn you'll utilize
- Fill up the design delicately with embroidery thread.
- You can watch videos on what are the most effortless stitches to employ.
- Once you have completed the design, remember to tidy up the back.
- Tie knots where necessary and cut off the extra thread. This step is required; otherwise, the adhesive backing of the fabric won't adhere well in the upcoming step.
Some Tips for Beginners in Hand Embroidery Method
Don’t pick a complicated design if you are a beginner in hand embroidery. We recommend beginning with simple designs so that you can practice.
Map out a unique basic design for yourself or look for one on the Internet. Choose artwork that you can finish with no more than three embroidery thread colors. Consider depictions such as a yin-yang sign, a smiley face, or cherries.
Another great idea is to choose phrases or words like love or peace. If you have prior stitching skills, that’s good; otherwise, you can embroider your patch without any sewing experience.
Need More Information?
Request a quote. We will get back to you within 8-12 hours with a custom product quote.

3-How to Make Iron-on Patches Using the Sewing Machine Method?
If you are an expert at using the sewing machine, this is an ideal way to make iron-on patches. You would need to follow the first four steps of the above method and then proceed with the following steps:
- Outline your picture on a thick cloth.
- Adjust the sewing machine to 0 and 2 to make thick, lovely lines.
- Keep to the lines of the design using a zigzag stitch.
- Make sure that you lift and hinge the needle as required. The outlines' width will make it super easy for the thread to knot.
- Continue sewing gradually and with precision. This technique demands high attention to detail and is not for those who prefer a more relaxed approach. After you have completed it, check your last stitch to fix it.
- Once you've finished, withdraw your work from the sewing machine. You've now successfully embroidered a patch with your sewing machine, a task that should leave you feeling accomplished and proud of your skills.
How to Apply Iron-on Patches?
Once you have crafted your one-of-a-kind custom patches, you can apply them to clothing or other items, infusing your creations with a unique touch that reflects your individuality.
To begin, you will need these items:
- A light towel or a soft piece of cloth
- The custom patch & dress/outfit
- An iron and rigid surface
Follow these simple steps:
- Layout the clothing first and position the custom embroidered patch above the clothing in your desired position.
- Set the iron on medium heat and ensure that no steam setting is on.
- Softly press the patch with the iron for around 10 seconds. This will stimulate the glue.
- Cautiously turn the clothing/bag inside and put the towel above the patched area.
- Leave the iron above the patched area for 20-30 seconds.
Wait until it is cooled down, and then touch or move.
Conclusion
Embroidered iron-on patches are an amusing and trendy way to impress people with our style statement. Making DIY iron-on embroidered patches is a challenging job. You can make any embroidery design on your patch and customize it exactly as you desire.
The methods provided in this blog can be quickly followed with just a little talent and patience. For any of the methods mentioned above, choose designs depending on how big you want the patches to be.
Although there are no hard-and-fast rules, smaller patterns, like the elements in a vegetable design, work well. Plus, you can choose some of the different methods of making an iron-on embroidered patch.