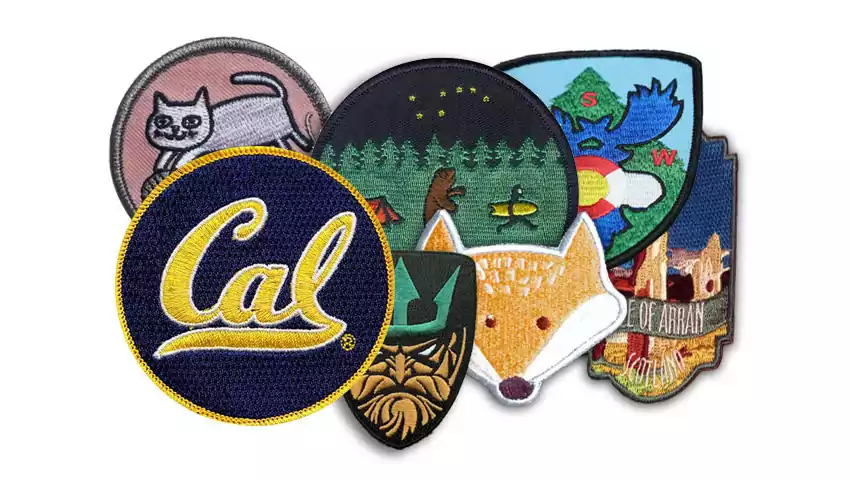
With the help of embroidery patches, you can show the world your creativity and the taste of your fashion sense. They connect effortlessly to a headgear, bag, or jacket. Custom embroidery patches are a fun way to express yourself while also showcasing your stitching skills. So you've decided to manufacture your own embroidered patches for the first time. It's fantastic! We can help you manufacture patches for your forthcoming event, whether you're an artist or designer who wants to see your work in thread form, or if you need patches for your business or organization. We have over 40 years of experience in the patch industry and know exactly what it takes to create outstanding patches.
This manual will assist you through the procedure. We will walk you through every step of the process, from coming up with a concept to obtaining your finished product. Let's start with a look at some of the many alternatives available to you.
Need More Information?
Request a quote. We will get back to you within 8-12 hours with a custom product quote.
1. Prepare your Patch
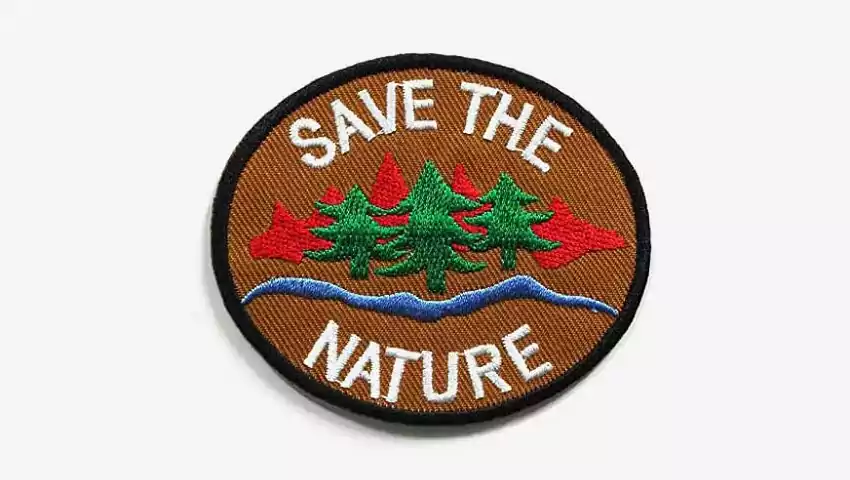
This is very important. You can use any fabric from your stash, like cotton or poly. You also have a lot of design possibilities for your patch. Here are a few examples:
Embroidery Percentage
The embroidery percentage of your patch refers to how much of it is covered in thread. A patch is stitched on a cloth known as "twill," and a patch with less than 100% embroidery will still show portions of the twill. Consider your design first when deciding between these possibilities. Twill is frequently used as a ‘background' color when it is visible. If your design includes a solid backdrop color, a percentage less than 100% can be a decent choice. Perhaps you prefer the look of a patch that is entirely embroidered. It's entirely up to you!
Patch Border Options
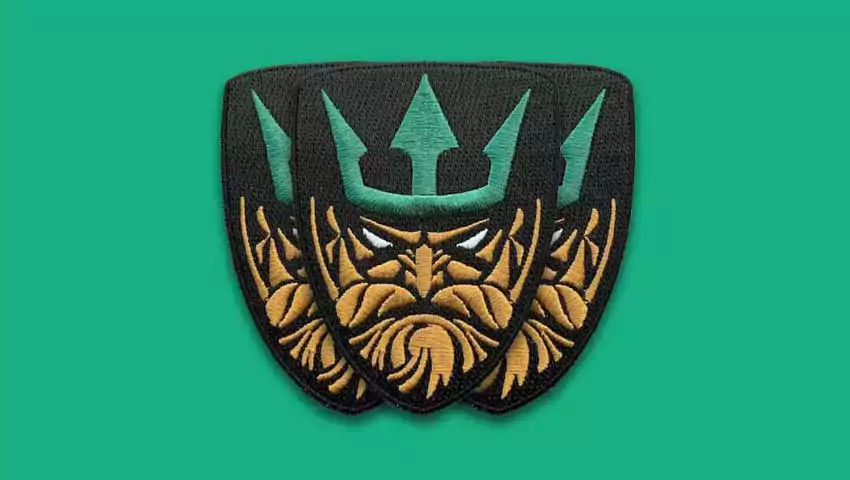
Embroidered patches usually have two border options: Merrowed and Die-Cut. Merrowed, slightly elevated borders wrap around the outside of the patch. On designs that aren't too complicated, merrowed borders are an option. Merrowed borders can be found on squares, ovals, rockers, circles, and other similar shapes. Simple shapes might also benefit from die-cut borders. However, they are typically utilized on more complex designs. A die-cut edge will almost certainly be required if your design has a protruding piece or intricate edges. Both border options are of the same price.
Thread Colours
Choosing a complementary mesh color for an embroidered patch with not a full thread coverage is a terrific technique to make your patch seem and feel more seamless. There is no need to specify a mesh color for patches with 100 percent thread coverage because none of the mesh will be visible.
On your embroidered design, several firms offer a few free thread colors. Furthermore, you must use a no-show mesh product or a double-sided fusible stabilizer to back your patches. Just keep in mind that any method you choose will affect how you complete the stages below: You may easily apply the stabilizer using a home iron or a heat press at 260°F for about 15 seconds.
For a variety of reasons, tacky patch fusible should be used in your patch-making procedure. First, it contains a double adhesive, which means that when you place it down, it sticks on one side and becomes tacky on the other. During the patch-making process, this eliminates the usage of "spray adhesives."
Second, utilizing tacky patch fusible will give your patches more stability than using merely a no-show mesh product. Finally, the other side includes a liberated piece of paper that is ideal for plotting.
2. Cutting your Design
Your cutting machine will determine how you proceed with the next step.
Using a cutting machine: the SVG file is included with our DIY Patches Made Easy design files. Simply set your stabilized fabric on your matt and insert your patch SVG file into your cutter. Cut out your patch shapes with your cutting machine.
If you don't have a cutter machine, use the stitch file included in your DIY Patch Made Easy design file to sew your fabric and stabilizer together. Cut along the stitched outline once you've finished. You don't want to leave any of the stitched outline hanging out, so cut directly on it. It's sized to fit nicely within the patch's design files.
3. Embroidering your Patch
Let's discuss embroidering now as you've learned about multiple alternatives. Embroidery can be rather lovely, but it has its limitations. Designing your patch in a thoughtful manner will guarantee that it is easily recognizable, readable, and attractive. It's also vital not to cram too many aspects into your patch design. Follow the steps below.

Step 1: Trace the pattern onto a piece of felt and gather the necessary tools and materials. It's not necessary to use an embroidery hoop because felt is unlikely to pucker.
Step 2: Using split stitch/split backstitch, outline the shape (or any other line stitch for that matter).
Step 3. Use chain stitch to work the upper part. Then, through the fabric, bring your needle up, and insert at the same point, then carefully bring it up again keeping some distance. Tuck the thread under the needle and pull it through.
Step 4: Repeat until the portion is completely filled. Here, the texture is going to be fantastic!
Step 5: Stitch the body together with long and short stitches. Use only one strand of thread and don't be afraid to use guide threads to ensure that the overall orientation is proper. Because we need to cover this section quite intensively, keep your stitches short and close together. There are no spaces in between!
Step 6: Cut out your shape/design, leaving a small border of felt around the edges. At this stage, your patch is ready to be worn!
Final Words
Although there are many ways on how to make custom embroidery patches and get them ready, the above are the most creative ones. Use these custom patches to promote your business, design your jacket, or literally to up-level any piece of clothing. If making one yourself is too much, you can place an order online. All you need to know is what you really want.